
The garage is comparatively larger than the other doors as we move a lot of stuff, so they are designed a bit larger than the usual doors. If you are someone who works in the garage then you’ll notice dust, insects, and noise in the garage even after closing the door.
When closing the door this can be kept away but it cannot be controlled for a long time as this will be entering through the gaps and cracks on the garage door which are not sealed. Take a look at the garage door when the door is closed and inspect where the noise is entering through the door.
Look for the gaps and cracks in the daylight as they will be visible see if there’s any light that is reflecting through the gaps if yes then it is time to seal the garage door. Most of the time we can also smell the unpleasant odor in the garage because of the cold air.
If you experienced this then it’s time to seal the sides of garage door. In this guide, I will walk you through some of the easy ways to seal the garage door which will reduce the noise and make the garage door airtight to prevent unwanted noise and dust entering your garage.
Things You’ll Need
- Tape Measure
- Vinyl Weatherstripping
- Caulk
- Utility Knife Or Circular Saw
- Hammer
- Disposable Gloves
- Wood Putty
- Some Extra Nails
How To Seal Sides Of Garage Door

Here are some of the effective ways to seal sides of garage doors even if you are confused about whether to seal all four sides of the garage door you have to ensure that all the sides are sealed to prevent noise and dust.
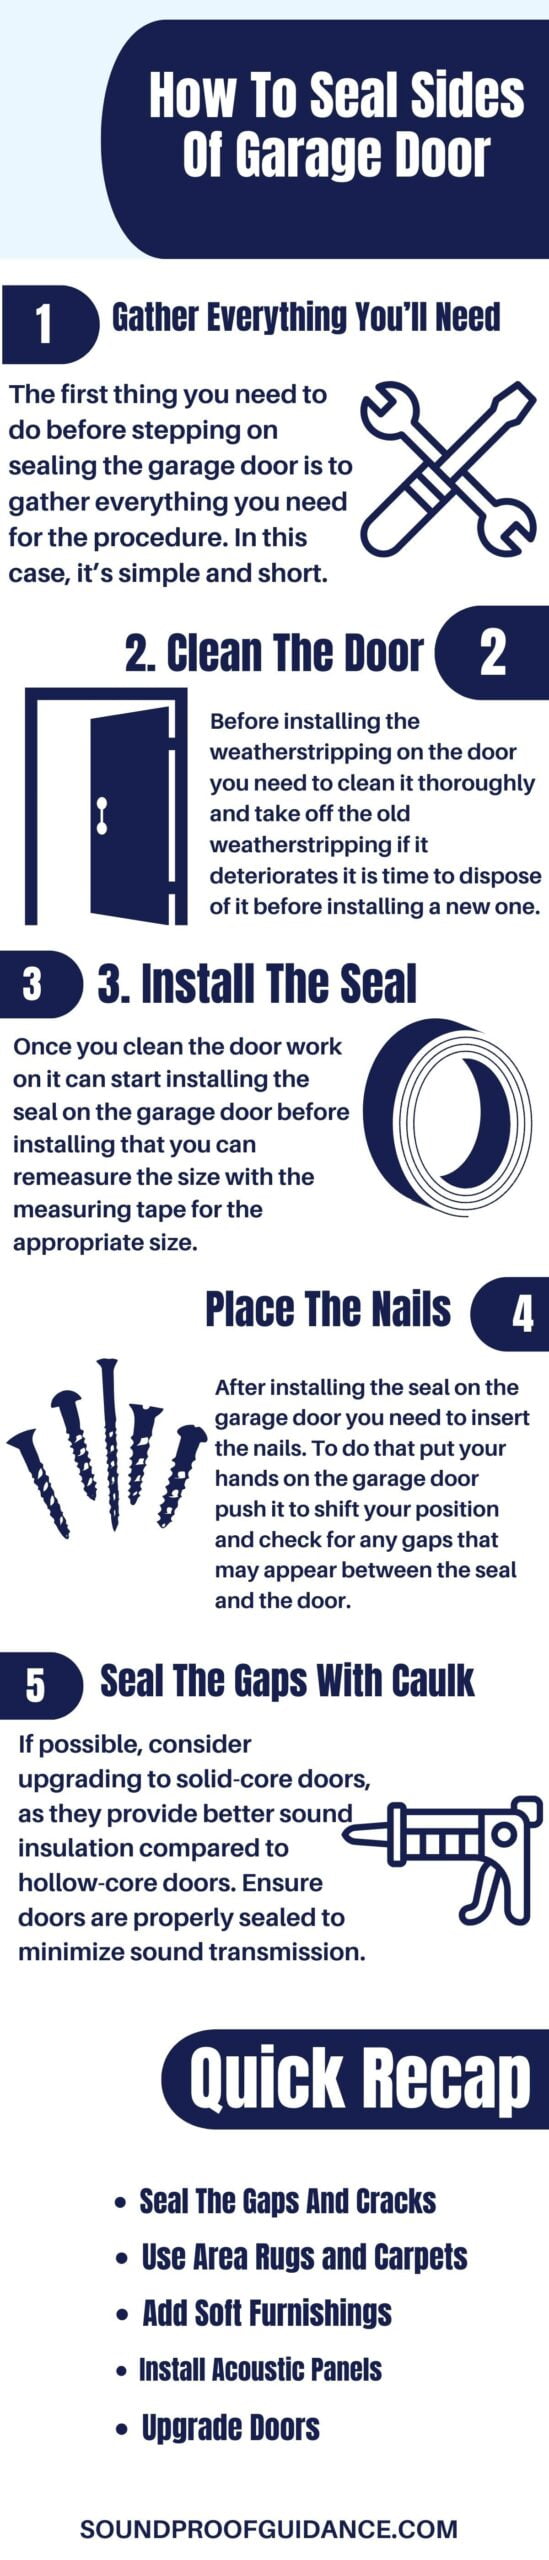
1. Gather Everything You’ll Need
The first thing you need to do before stepping on sealing the garage door is to gather everything you need for the procedure. In this case, it’s simple and short.
- You’ll need the weatherstripping seal of your choice.
- Pneumatic stapler, drill, and hammer
- Get some extra nails and screws apart from the ones you get with the weatherstripping kits.
Caulking is one of the best ways to seal the gaps in the garage door after the weatherstripping you may see some of the gaps and cracks on the jamb to fill that caulking works fantastic.
After gathering all the things that are needed to seal the garage door you need to measure the garage door height and weight for which you’ll be purchasing the seal. After this is done you need to head over to cleaning of the door to install the weatherstripping.
2. Clean The Door
Before installing the weatherstripping on the door you need to clean it thoroughly and take off the old weatherstripping if it deteriorates it is time to dispose of it before installing a new one.
To do that you need a few more tools before disposal. If you don’t have a crowbar then use a sturdy kitchen knife to caulk away the old caulk and lift the seal. Slide it under the vinyl strip and continue until you feel the first nail and twist to lift it.
After you take off the seals of the door you may potentially damage the door jamb especially if the seals were glued on that’s simple to fix. Finish the jamb if there is any damage to the plaster use appropriate tools to fix the scuffs lastly use wood putty to fill up the holes that are exposed due to old nails before you start installing the new one.
3. Install The Seal
Once you clean the door work on it can start installing the seal on the garage door before installing that you can remeasure the size with the measuring tape for the appropriate size.
Cut the seal with the utility knife or circular saw if you have the one in the garage. Garage seals usually come in rolls you need to calculate the size and cut. Sometimes there will be slight miscalculations on your side.
The product I have linked here is the roll of 30 feet which will be easy to install as it’s long and you need to cut it into 3 pieces if you’re installing on top and both sides.

If you installing on top and both sides then you need to cut and install on the top first. Keep in mind this point while you execute and this is the correct order of replacing the seal of the garage door. After installing the top one you can alter the side one to fix perfectly against the top one.
After you have installed the seal on all the sides of the door then is time to put nails on the thicker parts to fix firmly with the jamb. Don’t press the seal on the jamb after installing for you need to put the nails for a perfect fix.
Moreover, before putting the nails, you need to find the placement of the nails. It should be an inch and a half long for inserting in the jamb properly without damage. After you find the placement for the nails don’t put it fix the nails temporarily on the jamb.
After you are done with the thorough installation of the seal on the garage door then insert the nails for a perfect fit.
4. Place The Nails
After installing the seal on the garage door you need to insert the nails. To do that put your hands on the garage door push it to shift your position and check for any gaps that may appear between the seal and the door.
If you spot any gaps then take the closest nail and place it on the gap then shake the door and confirm that it’s placed well. Doing this ensures that the seal is tightened and remains firm and sealed during windstorms.
Spot the gaps and continue inserting the nails on the seals. Ensure that you start inserting the nails from the top and sides of the door frame.
5. Seal The Gaps With Caulk
After inserting the nails you may still see tiny gaps between them and the jamb. Regardless of how effortlessly you have installed the seal on the door all the efforts will be ruined if there are gaps and cracks on the jamb left unsealed.
Don’t worry there is a chance of getting a successful all it takes is a bit of sealant. If you do not want a caulking gun then you can use sealant that comes in a tube.
Whichever caulking you use run it around the edge between the door jamb and the seal. Wear disposable gloves and smoothen the process with your finger with this you can feel the cracks and gaps.
This will help the sealant seal the gaps that might have allowed the air to flow in and out of the garage. Using the caulking to fill the gaps and cracks will make a huge impact in sealing the garage door.
How To Seal Sides Of Garage Door (Infographics)
Final Thought On Sealing Sides Of Garage Door

Following some of the steps and executing them will make the garage peaceful and symphonic. If you want to soundproof the garage workshop this guide can help you.
Other than sealing the sides of the garage door you can also soundproof the garage from inside by installing acoustic panels or MLV with some of the garage soundproofing techniques. Of course, this will depend on the way you use your garage.
If you use your garage for the workshop then steps for preventing noise should be taken on the other hand if you use the garage for entertainment purposes like watching movies or music studios then acoustic panels will be the best option for you.
If you got any value from this guide let us know we would love to hear from you. Share with friends and family. If you have questions drop them in the comment section below.
Other Related Guides:
How To Soundproof Garage Workshop
How To Soundproof Sliding Glass Door
FAQ
How do you seal gaps on the side of a garage door?
Door panel weatherstripping is sold in rolls and is self-adhesive. You simply stick it to the top or bottom edge of each panel. When the door is closed, the panels compress the weatherstripping to create an effective seal, much like weatherstripping on standard house entry doors.
How do you seal the edges of a garage?
How to seal a garage door on the sides. To seal the sides of your garage door, it’s best to use door-stop weatherstripping. Measure the door jamb and cut your stripping to the proper length. You can use adhesive or screws to install the stripping on both sides.
How do you weatherproof the sides of a garage door?
The first option is to purchase foam tape weather stripping. Another option is to use V-shaped garage door weatherstripping. The V-shaped garage door weatherstripping is designed to seal the gaps between each panel.